
How to Replace a Faulty PC Fan
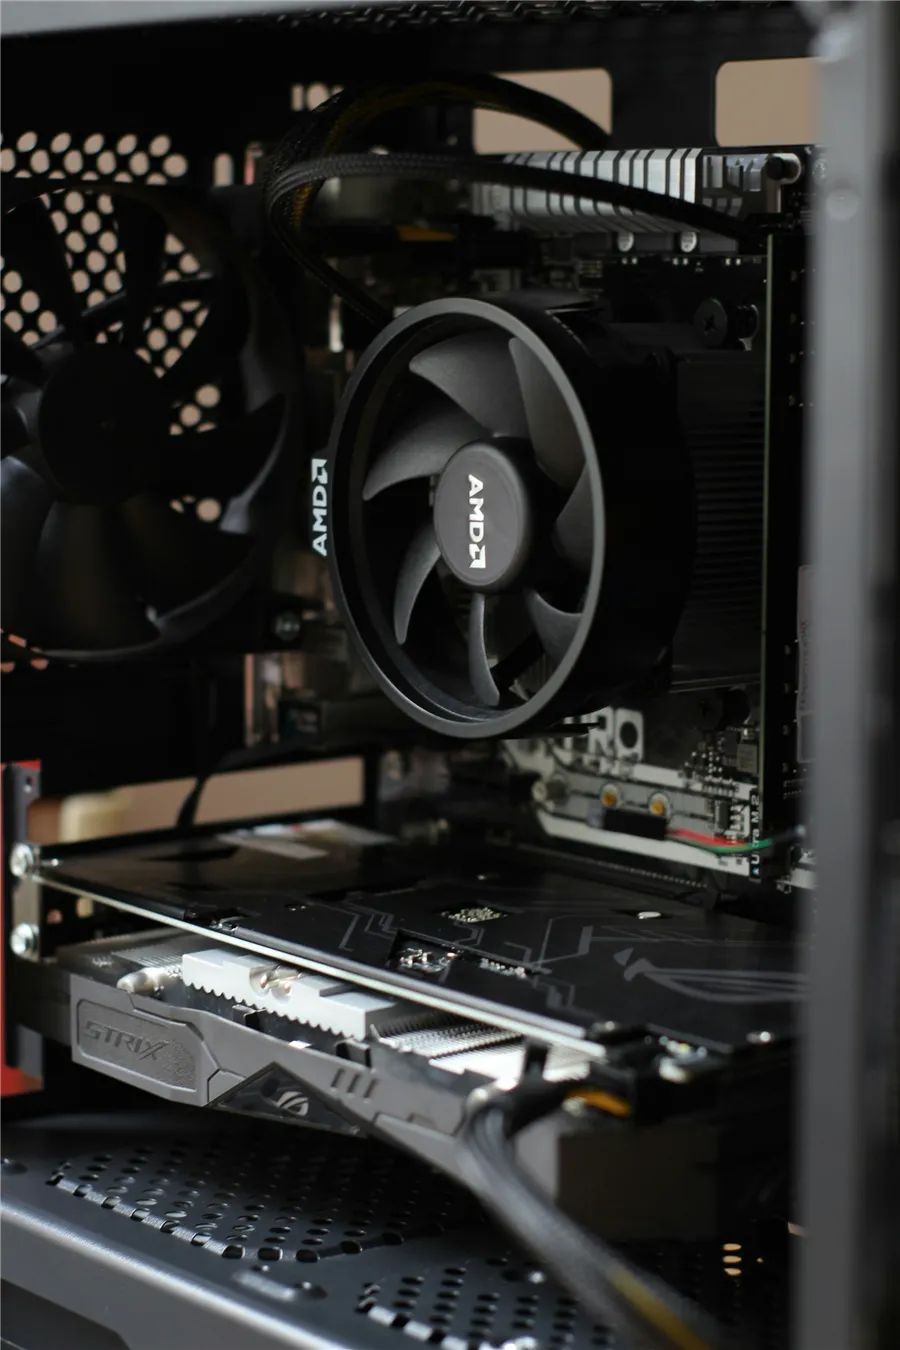
Short answer: a noisy or dead case fan is a 15-minute job and about the cheapest repair a PC will ever ask of you. Work out which fan is failing, match the size and connector, unplug the machine, swap it, and check it spins on boot. A CPU cooler fan is a bigger job and is covered separately below.
First, confirm the fan is actually the problem
Fans get blamed for a lot of noises they had nothing to do with. The hard drive, the PSU and a loose cable have all been convicted on fan evidence. Before buying anything:
- Open the side panel and listen. A failing bearing is a dry rattle or grinding that changes pitch as the fan speeds up. A rhythmic ticking is usually a cable touching a blade.
- Stop each fan briefly with a finger or a pencil while the machine idles at the desktop. When the noise stops, you have found it. Do this for a second, not longer.
- Check it is spinning at all. A fan that never starts, or starts then stalls, is dead or unplugged.
- Rule out dust first. In the UAE this is genuinely the most likely answer. A fan packed with fine dust sounds exactly like a dying fan, right up until you clean it and it does not. Blow it out and listen again before spending anything.
Identify what you need to buy
Three things have to match, and only three.
Size. Measure across the fan frame, corner screw to corner screw is not the number you want, measure the outside edge. Almost every case fan is 120mm or 140mm. Older or small cases may use 80mm or 92mm.
Connector. Look at the plug on the end of the cable. A 3-pin connector runs the fan at a voltage-controlled speed. A 4-pin (PWM) connector gives the motherboard finer speed control. A 4-pin fan works in a 3-pin header and vice versa, just with less control. Some prebuilt machines use a proprietary connector, in which case an adapter or a matching part is needed.
Thickness. Standard is 25mm. Slim fans exist for tight builds. If the old one is slim, measure before assuming.
Airflow direction matters more than people expect: every fan has arrows moulded into the frame showing which way the air goes and which way the blades spin. Front and bottom fans normally pull air in, rear and top fans push it out.
Replacing a case fan, step by step
- Shut down and unplug the power cable at the wall. Not sleep, not hibernate. Then hold the power button for five seconds to drain residual charge.
- Open the side panel. Usually two thumbscrews at the back.
- Photograph the fan and its cable run before touching anything. This is the step people skip and regret.
- Unplug the fan. Follow the cable to its header on the motherboard or fan hub and pull the connector straight off, holding the plug rather than the wire.
- Unscrew the fan. Four screws, usually Phillips, sometimes with rubber anti-vibration mounts instead. Support the fan with one hand so it does not drop onto the motherboard.
- Fit the new fan the right way round. Check the airflow arrow against the direction the old one was moving air. Getting this backwards is the most common mistake there is, and it will make your temperatures worse. The fan will run perfectly while doing the opposite of its job.
- Screw it in, but not too tight. Snug is enough. Overtightening cracks the frame and produces the exact rattle you just paid to eliminate.
- Plug it into the same header. Reusing the same header keeps whatever fan curve was already configured.
- Close up, plug in, boot, and confirm it spins. Then check it is being detected, either in the BIOS hardware monitor or in your motherboard's software.
If it is the CPU cooler fan
This is a different job and worth being honest about. On most tower coolers the fan is held on by two wire clips and can be replaced on its own in a few minutes without touching the heatsink or the thermal paste. That is the easy case.
If the heatsink itself has to come off, you are into removing the cooler, cleaning off the old thermal paste with isopropyl alcohol, and reapplying fresh paste on reassembly. That is still a beginner-friendly job, but it needs paste on hand before you start, and it is not a fifteen-minute repair.
If the fan on an all-in-one liquid cooler's radiator has failed, treat it as a normal case fan swap. If the pump has failed, that is a different problem and the unit needs replacing.
Common mistakes worth avoiding
- Installing it backwards. Check the arrows. Twice.
- Plugging a case fan into the CPU_FAN header. Some boards will refuse to boot, or will complain, if they do not see a fan on the CPU header. Keep the CPU cooler on CPU_FAN.
- Spinning fans with compressed air. Over-spinning a fan while cleaning can damage the bearing. Hold the blades still while you blow it out.
- Buying on looks alone. RGB is not airflow. If the fan sits behind a solid steel panel, the only person who will ever see those lights is you, once, during installation.
- Replacing one fan in a set. If you have three matched fans and one dies, a single different fan will often be audibly out of step with the others.
Buying a replacement in the UAE
Case fans are cheap and widely stocked here, and this is one of the few components where the budget option is genuinely fine. You are buying a bearing and a motor. There is no premium tier of moving air around. Spend a little more only if the fan sits somewhere you will hear it, in which case bearing type matters more than brand.
Dust is the real enemy in this climate. Whatever you fit, plan on blowing the system out every few months, and check that your case's dust filters are actually present and clean. That will do more for fan lifespan than anything printed on the box.
Looking at cooling more broadly? See our PC cooling guide for the UAE climate and our peripherals and cooling picks.
General guidance for standard desktop PCs. Prebuilt and OEM machines sometimes use proprietary fan sizes or connectors, so check yours before ordering.