
How to Build Your First Gaming PC — UAE Edition
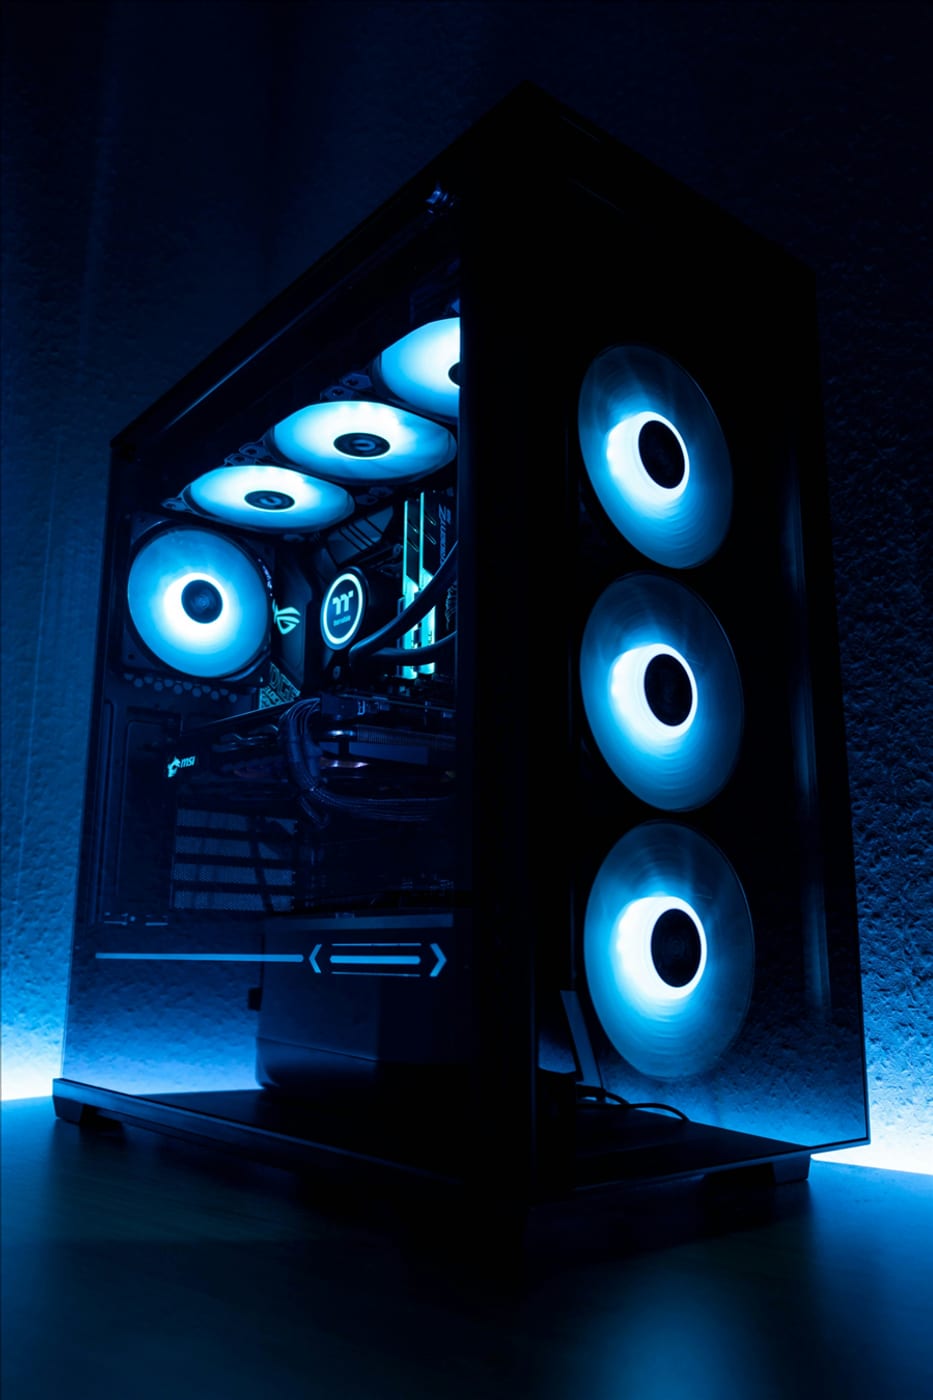
Building your own PC is one of those skills that sounds terrifying until you've done it once. The truth: it's adult LEGO. Every part only fits where it's supposed to, and modern components are more forgiving than the internet would have you believe. This guide walks you through the whole thing, from picking parts to first boot, with UAE pricing and availability in mind.
Before you buy: pick a budget and a goal
Decide what you want the PC for before buying anything. A 1080p esports machine costs around 3,500 AED. A 1440p AAA gaming rig is 4,500–5,500 AED. A 4K beast is 7,000+. Trying to build a 4K machine on a 1080p budget is how people end up with unbalanced builds they regret. Be honest about what you'll actually play.
This walkthrough follows the same order Linus Tech Tips uses in their build guides — motherboard first, GPU last — because it's the safest sequence for first-timers and avoids re-routing cables.
Sample build — 1440p gaming rig (~4,500–5,000 AED)
| Part | Pick | Approx. price |
|---|---|---|
| CPU | AMD Ryzen 5 7500F (or 9600X if you want 2 more cores worth of headroom) | 550–800 AED |
| GPU | NVIDIA RTX 5070 (or RX 9070 XT) | 2,300–3,000 AED |
| Motherboard | B650 AM5 board (ASRock, Gigabyte, MSI) | 450–650 AED |
| RAM | 32GB DDR5-6000 (2x16GB) | 1,600–2,400 AED |
| Storage | 1TB NVMe Gen4 (Crucial P3 Plus or Samsung 990 EVO) | check current |
| PSU | 750W 80+ Gold (Corsair, MSI, be quiet!) | 350–450 AED |
| Case | Mid-tower with mesh front + included fans | 250–400 AED |
| Cooler | Stock (7500F) or a $30 tower cooler | 0–150 AED |
Step 1 — Check compatibility before ordering
The three compatibility rules that matter: (1) CPU and motherboard socket must match — AMD 7500F/9600X needs an AM5 board, not AM4; (2) RAM generation must match the board — DDR5 for AM5, never mix DDR4 and DDR5; (3) the PSU must have enough wattage and the right connectors for your GPU. That's genuinely it. Cases, coolers, and SSDs are near-universal now. Use PCPartPicker to sanity-check the list before you spend money.
Step 2 — The tools you need
A Philips-head screwdriver (magnetic tip makes life easier), a clean table, good light, and about two hours of patience. A $10 anti-static wrist strap is nice-to-have; touching the case's bare metal before handling parts works fine too. No, you don't need special "PC building tools" — the marketing is lying.
Step 3 — Build order (the boring, correct way)
- Install the CPU — lift the socket lever, align the gold triangle on the CPU corner with the triangle on the socket, drop it in (no force — it should fall into place), close the lever. Push down the little retention bars on the sides of the CPU after installing for AM5.
- Install the RAM — open the clips, line up the notch, press firmly until both clips click. Use slots 2 and 4 (A2/B2) for two sticks. It takes more force than you expect; that's normal.
- Install the M.2 SSD — unscrew the standoff, insert the drive at an angle, push down, screw it in. Done. No cables needed.
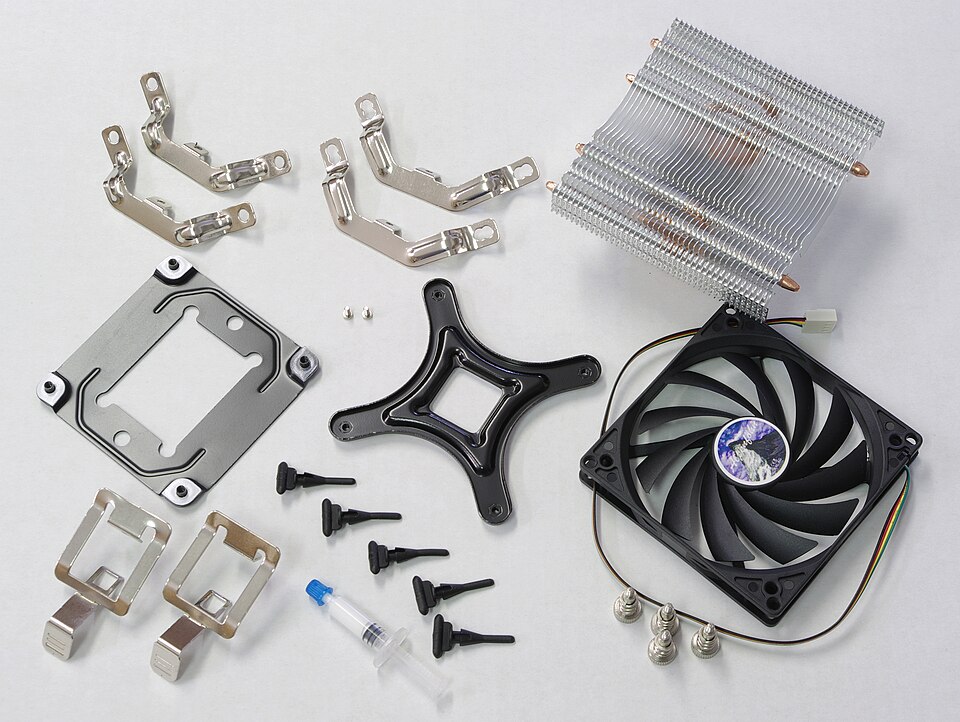
- Install the CPU cooler — apply thermal paste (a pea-sized dot in the center) if it's not pre-applied, then mount the cooler per its instructions. Read the cooler manual — this is the step people screw up.
- Install the motherboard in the case — screw in the standoffs first (the case manual shows which holes), then the I/O shield, then the board. Finger-tight, then a quarter turn.
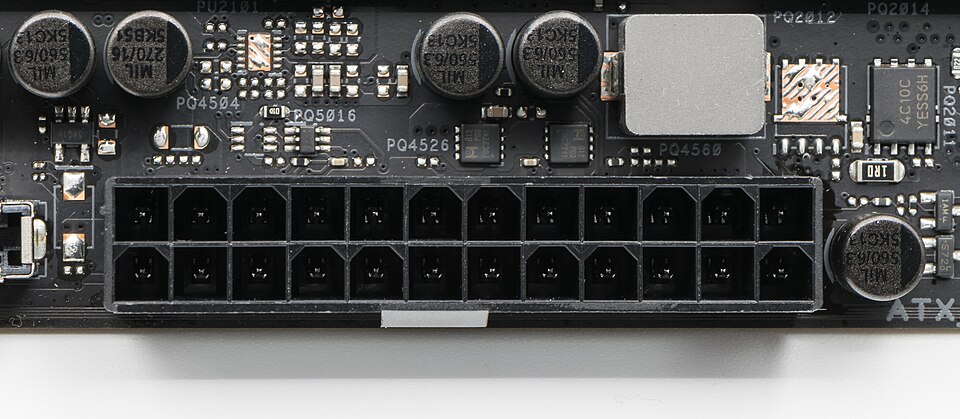
- Install the PSU — mount it, route cables through the back of the case, plug in the 24-pin motherboard cable, the 8-pin CPU cable (top-left of the board), and the SATA/PCIe power cables you'll need.
- Install the GPU — remove the PCIe slot covers on the back, push the card into the top PCIe x16 slot until it clicks, screw it in, plug in its power cables (usually one 12VHPWR or two 8-pins).
- Connect case fans and front panel — fans go to CHA_FAN headers; the front panel connectors (power button, LEDs) go to the tiny pins at the bottom-right of the board. The case manual and motherboard manual show the exact layout.
Step 4 — First boot (the scary part)
Plug in the monitor cable to the GPU (not the motherboard — with a 7500F there's no integrated graphics anyway), plug in keyboard and mouse, flip the PSU switch, press the power button. What you want: fans spin, lights turn on, BIOS screen appears. What you don't want: nothing happens (check PSU switch and front-panel cables) or the system boots but shows nothing (check monitor cable is in the GPU, not the board).
Step 5 — Software setup
In the BIOS: enable EXPO/XMP for your RAM (this unlocks its rated speed — skipping this means your 6000MT/s RAM runs at 4800), set boot order, save and exit. Then install Windows from a USB drive (Microsoft's Media Creation Tool makes one for free), install your GPU drivers from NVIDIA or AMD's site, and update Windows. Then game.
Common first-build mistakes (and fixes)
- Won't turn on — 90% of the time it's the front-panel power cable on the wrong pins, or the PSU switch off. Check both before panicking.
- No display — monitor plugged into the motherboard instead of the GPU.
- RAM running slow — XMP/EXPO not enabled in BIOS.
- PC turns off under load — PSU too small, or GPU power cables not fully seated.
- Thermal paste everywhere — use a pea-sized dot; more is not better.
UAE-specific notes
- Parts to buy locally vs online — cases and PSUs are bulky and expensive to ship; buy them locally (Computer Plaza, Al Ain Centre). CPUs and RAM are cheap to ship and often cheaper online.
- Check warranty terms — UAE law gives you 1 year minimum warranty on electronics; some shops offer 2-3 years on PSUs and SSDs. Keep your receipts (digital copies count).
- Dust is a Dubai fact of life — a case with dust filters and positive air pressure (more intake fans than exhaust) stays cleaner much longer.
- Humidity and heat — during summer, keep the case off the floor and give it breathing room; don't shove it in a closed cabinet.
Verdict
Building your first PC is an afternoon project that saves you money, teaches you your machine inside out, and makes every future upgrade trivial. Follow the order above, read the two manuals that matter (case + motherboard), and take your time. The first boot screen is worth it.